Wondering if your water is more mystery soup than crystal clear? In our guide on ‘How To Test Your Tap Water Quality At Home Safely’, we spill the tea—or should I say, water—on effective, budget-friendly testing methods. Before your family takes another sip, join us to unearth which contaminants lurk in your glass, and when it’s time to wave in the experts.
Key Takeaways
- Test tap water quality at home with affordable methods that actually work.
- Identify key contaminants lurking in your water before your family takes a sip.
- Learn when it’s time to call a professional to handle water quality concerns.
- Discover DIY water testing kits and how to use them effectively.
- Stay informed about the cleanest tap water around the world.
- Avoid guesswork and ensure your water’s safe with simple steps.
- Protect your family’s health by understanding water testing essentials.
- Don’t wait—know what you’re drinking with these easy tips.
Why Testing Your Tap Water Matters More Than You Think
Look, we get it—tap water comes straight from the pipes, so it must be safe, right? Not always. You know that moment when you hear about water contamination in the news and think, “That won’t happen here”? Well, the truth is, tap water quality varies wildly depending on where you live, your home’s plumbing age, and what’s happening upstream. Testing your tap water quality at home safely isn’t just paranoia; it’s peace of mind. Whether you’re concerned about lead, bacteria, or mysterious cloudiness, understanding what’s actually flowing through your faucet is the first step toward protecting your family. Let’s dive into how you can skip the guesswork and get real answers.
- Tap water quality depends on local water systems, aging infrastructure, and seasonal changes—not just what regulators say is “safe.”
- Home testing methods range from $10 DIY kits to $200+ professional lab analysis, each with different accuracy levels.
- Common contaminants include lead, chlorine, bacteria, nitrates, and hardness—some tasteless and odorless, making testing essential.
- Many homeowners discover problems only after symptoms appear, so proactive testing saves money and health headaches down the road.
- Knowing your water quality helps you decide between filtering, boiling, or calling professionals for intervention.
Understanding Common Tap Water Contaminants
Before you test, you’ve gotta know what you’re actually hunting for. Contaminants aren’t all created equal—some are visible (hello, rusty water), while others are sneaky silent assassins lurking in crystal-clear liquid. The big players you should care about include lead from old pipes, bacteria that cause illness, chlorine added for safety but harsh on taste, nitrates from agricultural runoff, and hardness minerals that wreck appliances. Here’s the thing: different regions face different threats. If you’re curious about where your country stands, checking resources about the cleanest tap water by country can give you baseline expectations for your region’s standards.
- Lead: Often from pipes and fixtures in homes built before 1986; invisible but dangerous, especially for kids and pregnant folks.
- Bacteria and Pathogens: E. coli, cryptosporidium, and other microbes cause serious gastrointestinal issues—can’t see ’em, but testing catches ’em.
- Chlorine and Disinfection Byproducts: Protect against bacteria but create taste and odor issues; some people are sensitive to residual levels.
- Nitrates and Nitrites: Sneak in from fertilizers and septic systems; risky for infants and pregnant women in high concentrations.
- Hardness Minerals: Calcium and magnesium aren’t dangerous but clog pipes, reduce soap effectiveness, and affect appliance lifespan.
- Pesticides and Industrial Chemicals: Region-dependent; more common near agricultural or industrial areas.
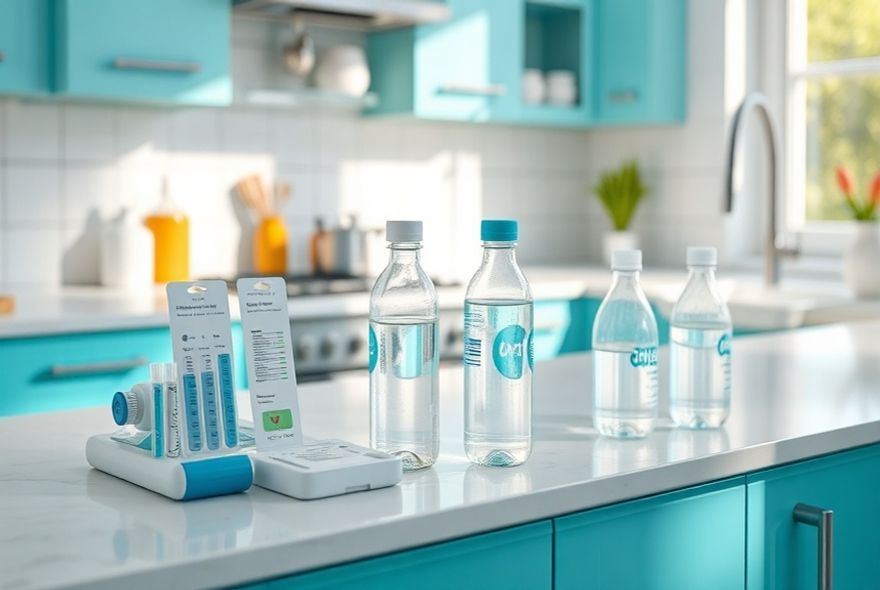
DIY Home Testing Kits: The Budget-Friendly Route
Alright, so you want to test your tap water quality at home without dropping a small fortune. Enter DIY test kits—those colorful strips and bottles you find at hardware stores. They’re affordable, fast, and honestly? They work pretty well for basic screening. You dip a strip in water, wait for the colors to change, and match ’em to a chart. Simple. The catch is they’re not as precise as lab testing, but they’re perfect for getting a quick read on pH, chlorine, hardness, and bacteria presence. Think of ’em as your water’s report card—not a diagnosis, but a solid heads-up.
- Test Strip Kits ($5–$15): Check pH, chlorine, hardness, nitrates, and sometimes bacteria; results in minutes; good for routine monitoring.
- Bacteria Testing Kits ($15–$30): Use culturing methods to detect coliform bacteria; takes 24–48 hours but reveals microbial safety issues.
- Multi-Parameter Kits ($20–$50): Test five or more parameters simultaneously; more thorough than strips but still DIY-level accuracy.
- Easy to Use: No special training needed; just follow the instructions, compare colors or results, and you’re done—perfect for busy families.
- Great for Baseline Data: Use them regularly to track changes in water quality over time; if results shift, that’s your cue to dig deeper.
When to Upgrade to Professional Lab Testing
Here’s where things get serious. DIY kits are cool, but they’ve got limits. If you’re dealing with health concerns, seeing weird changes in your water, or want comprehensive results, professional lab testing is worth the investment. You collect a sample (super easy—just fill a bottle), mail it in, and get back a detailed report from experts with fancy equipment. It’s like the difference between checking your own blood pressure at home versus getting a full physical. Both have value, but one tells you way more. Professional testing catches trace contaminants, specific bacteria strains, and chemical levels with precision that home kits just can’t match.
- Comprehensive Analysis ($100–$300): Tests 60+ parameters including lead, microbes, chemicals, and metals; gives you the complete picture.
- Targeted Testing ($50–$150): Focus on specific concerns—lead, bacteria, or pesticides—without paying for unnecessary tests.
- Certified Results: Lab reports are admissible and credible; useful if you’re buying a home, renting, or dealing with health issues.
- Expert Interpretation: Labs explain what results mean for your health and suggest next steps—no guessing required.
- Peace of Mind: One comprehensive test often costs less than months of worry; invest once, rest easy for a year or two.
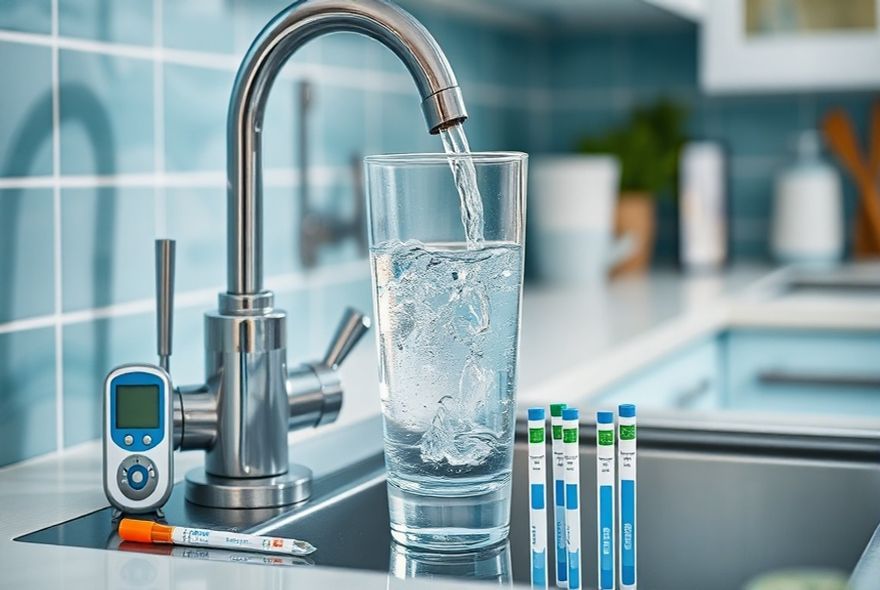
Step-by-Step: How to Test Your Tap Water Safely
Okay, you’ve decided to test. Let’s walk through this thing properly because technique matters—you don’t want false positives or contaminated samples ruining your results. Whether you’re using strips or prepping for a lab kit, there’s a right way and a “oops, I messed up” way. The goal is getting an honest sample of what’s actually coming through your pipes. We’re talking about collecting water the right way, at the right time, from the right spot. Sounds fussy, but it takes five minutes and saves you from redoing the whole thing.
- Run Cold Water First: Let water flow for 1–2 minutes before collecting; flushes stagnant water from pipes and gives you fresh supply results.
- Choose Your Collection Point: Test from multiple faucets if concerned; kitchen sink, bathroom, and outdoor hose can vary in quality.
- Use Clean Containers: For DIY kits, use the provided bottle or a sterile container; any residue skews results.
- Timing Matters: Test in early morning (stagnant overnight water) and after heavy water use (pressure can stir up sediment); compare results for patterns.
- Follow Instructions Exactly: Whether it’s strip dipping time or sample volume, stick to guidelines; shortcuts lead to wonky results.
- Record Everything: Note date, time, location, and results; tracking changes over months reveals trends you’d otherwise miss.
Reading Your Results and What They Actually Mean
So you’ve got your test results back—now what? Here’s where a lot of folks get lost. Numbers and abbreviations on a report can feel like reading a foreign language. You see “pH 7.2” or “lead <5 ppb” and think, “Is that good or bad?” Let’s decode this thing. Understanding your results means knowing safe ranges, recognizing red flags, and figuring out whether you need to take action or just breathe easy. The good news? Most results fall into “totally fine” or “call a professional” categories—not much gray area once you know what you’re looking at.
- pH Levels (6.5–8.5 is ideal): Low pH (acidic) can leach metals; high pH feels soapy and tastes off; slightly basic (7.5–8) is usually sweet spot.
- Lead (<15 ppb is EPA standard): Any detected lead warrants action; pregnant folks and families with kids should aim for zero.
- Bacteria Results (should be absent): Presence of coliform or E. coli means boil water or treat immediately; not optional.
- Chlorine (0.2–1.0 ppm is typical): Detectable chlorine is good (kills bugs); too much tastes harsh; none might mean safety gaps.
- Hardness (0–60 ppm is soft, 61–120 ppm is moderate): High hardness isn’t dangerous but reduces appliance efficiency; filters help.
- Know Your Baseline: EPA and local health department websites list safe ranges; compare your results to these standards.
When to Call a Professional and What They’ll Do
You’ve tested, read the results, and now you’re staring at numbers that worry you. Or maybe you’re just not confident interpreting them yourself. That’s the moment to bring in the pros. Water specialists, plumbers, and certified water quality technicians know how to dig deep. They’ll inspect your pipes, test at the meter, check pressure, and recommend specific solutions—not generic fixes. They’re especially crucial if you’ve got health concerns, visible water problems, or results that suggest contamination. Think of them as your water’s doctor; you wouldn’t diagnose yourself with a serious illness, so don’t DIY major water problems either.
- When to Call: Detected lead, bacteria, chemical contamination, persistent cloudiness, unusual taste or odor, or health symptoms after drinking water.
- What They Assess: Source of contamination, your plumbing condition, treatment options, and long-term solutions tailored to your situation.
- Treatment Options: Point-of-use filters (under-sink, pitcher), whole-house systems, water softeners, or in extreme cases, alternative water sources.
- Cost Varies: Initial assessment runs $100–$300; treatment installations range from $200 (simple filter) to $3,000+ (whole-house systems).
- Professional Credibility: They can advise on health risks, local regulations, and warranty options; peace of mind is worth the investment.
Simple Solutions for Common Tap Water Issues
Not every problem requires a pro visit or expensive equipment. Some water quality issues have straightforward, wallet-friendly fixes you can implement immediately. Cloudiness? Let water sit. Bad taste? A pitcher filter helps. Concerned about lead but can’t afford a whole-house system? Boiling and point-of-use filters are solid temporary measures while you plan bigger solutions. The key is matching the problem to the right fix—no point installing a $2,000 softener if your real issue is chlorine taste, you know?
- Pitcher Filters ($20–$50): Reduce chlorine, sediment, and some contaminants; easy swap-outs; good for renters or starting solutions.
- Under-Sink Filters ($50–$200): More effective than pitchers; remove lead, bacteria, and chemicals; professional installation recommended.
- Faucet Aerators ($10–$30): Simple sediment filters that screw onto your tap; catch visible particles and improve flow.
- Boiling (Free): Kills bacteria and some parasites; doesn’t remove chemicals or lead but works for emergency situations.
- Regular Maintenance: Replace filters on schedule; clogged filters become breeding grounds for bacteria and lose effectiveness fast.
Building Your Tap Water Testing Routine
Here’s the thing about water quality—it’s not a one-and-done situation. Seasons change, infrastructure ages, and contamination can pop up without warning. The smartest move? Build a testing routine. You don’t need to test obsessively, but regular checks catch problems early, track trends, and give you solid data for decisions. Think of it like maintaining your car; a little routine attention beats major repairs. Even if your current tests come back clean, periodic testing keeps you informed and prepared. It’s the difference between reacting to problems and staying ahead of them.
- Annual Testing: Minimum for peace of mind; DIY kits work; consider professional lab testing every 2–3 years for depth.
- After Home Changes: New plumbing work, renovations, or moving to a new home? Test before and after to spot issues.
- Seasonal Checks: Test spring (after snowmelt affects groundwater) and fall (before winter storage issues); water varies seasonally.
- If You Notice Changes: Sudden color, smell, or taste differences warrant immediate testing; don’t ignore red flags.
- Keep Records: Store test results; over time, you’ll see patterns and know when to investigate further or celebrate consistently clean water.

Wondering if your tap water is safe to drink? You don’t have to be Sherlock Holmes to figure it out—just skip the guesswork and dive into the reliable testing methods we discussed. Home testing kits offer a simple and affordable way to check for common contaminants in your water, while understanding the key culprits can significantly boost your confidence in the results. Plus, when in doubt, don’t shy away from calling in a pro to ensure your family’s drinking water is up to par. The core message here is about empowerment: with the right tools and knowledge, you can take control over your tap water safety.
Wrapping this up, if you’re ready to tackle your home’s water quality like a pro, click over to our Facebook, Instagram, and Pinterest pages. Join our community and share your water testing stories or concerns—let’s keep our loved ones safe, one glass at a time!


Leave a Reply